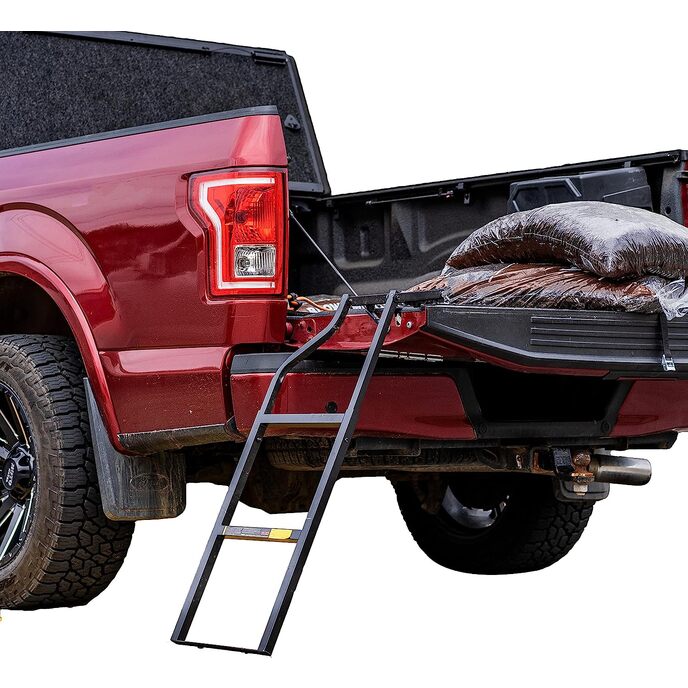
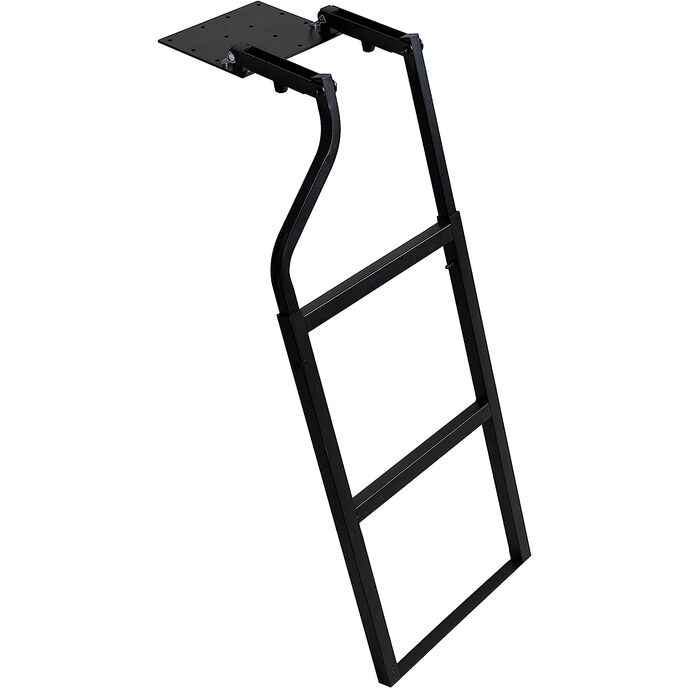
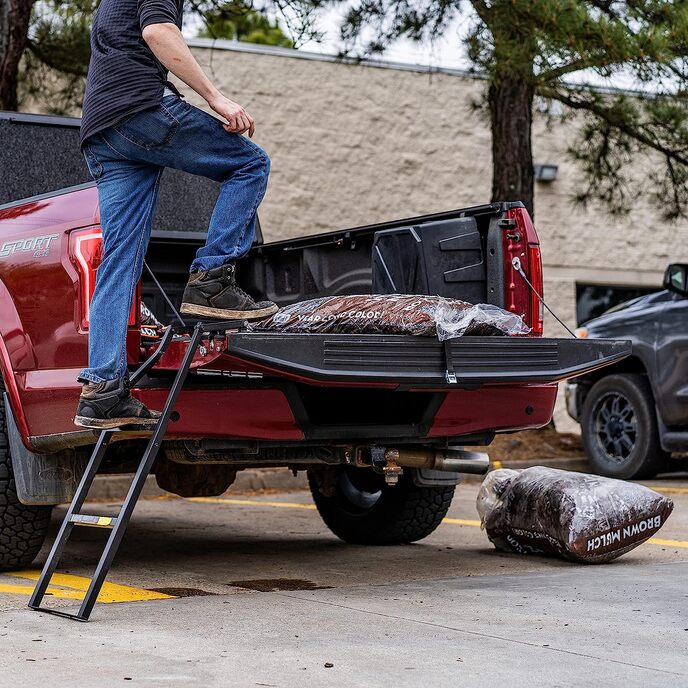
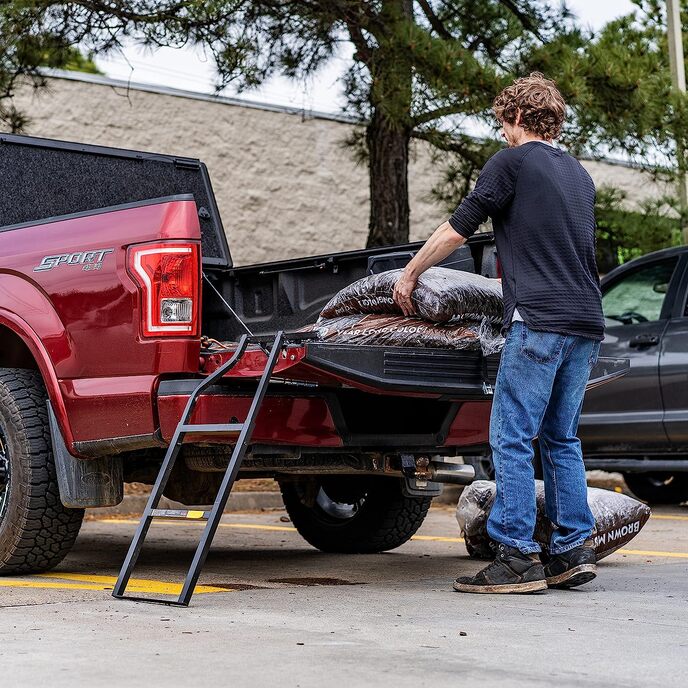
Vehicle: 2012 Ford F-150 I read many of the reviews here, and will concur. The hardware is the lacking part. Only kept six pieces (two clevis pins, two sheet metal screws, and two washers. I took advice of someone suggesting to nutsert the plate to the tailgate. Since I had a rivnut inserting kit from harbor freight, I went big and used 6 1/4x20 nutserts for the outer edges of the plate. First, I put the plate in position, and used two woodworking clamps over the top edge, to hold it against the tailgate. This enabled me to close and open the tailgate and make fine adjustments of the mounting position. Once satisfied, I drilled the outer six holes with a 3/16ths drill bit. I removed the plate and drilled the appropriate holes so that my nutserts would press fit into place, before using the tool. These MUST be identical in diameter to the OD of the nutsert. One by one, I applied a thin band of silicone to the base of each and pressed them into their holes, followed by squashing them like rivets into their permanent locations. Once that was done, I made ONE (a record for me) trip to Lowe's to get four 1/4-20 x 3/4" screws and two 1/4-20 x 1" screws. Two of the holes fell between ribs, so they were lower than the others. I also purchased a bag of 1/4" ID nylon washers, and a bag of 1/4" ID spacers (to fill gaps where void between ribs fell) found in the sorter drawers. Lastly, I replaced the four metric bolts and nylock nuts for 4 1/4-20 x 1 1/2" bolts and nylock nuts out of stainless - also found in the sorter drawers, not on a peg. Upon my return, I mounted the plate with the six phillips screws. Using the clevis pins, I passed the pin through the hinge piece, carefully slid one nylon washer between the hinge piece and the mounting bracket, passed through the mounting bracket, through the hinge piece and retained with the spring retainer clip. I attached the short hinge pieces with the rubber bumpers facing down when inside the tailgate (to prevent rattle). Using the same technique, I passed one 1/4-20 x 1 1/2" bolt through the other end of the hinge piece, nylon washer, and either the offset upper ladder rail or straight, and pushed through to a nylock nut, and secured using my 7/16" wrenches. I repeated for the other one. In case you are wondering, the nylon washer affords a bit of lubrication to the pivot, so one may tighten the bolts more snug, without losing the ability to fold the ladder. It reduces rattle. Finally, I added the lower section, and on my truck, whilst sitting on concrete pad in my barn, the optimal angle with the hinge pieces horizontal made the ideal hole position in between two others - which are spaced about two inches apart. So on mine, I extended the lower ladder until the top hole was exposed, put a bolt through each side to prevent it from moving, and drilled two 1/4" holes into the upper rails at the mounting position. As fortune would have it, after withdrawing the lower section of ladder, the holes fell almost centered between the other two adjustment locations. If the difference was maybe a 1/4" to a 1/2", I likely would not have gone to the trouble. After bolting the two sides, I laid the ladder to the inside of the tailgate. Using the supplied strap, two screws and two washers, I mounted the strap to the inside. I pre-drilled those holes with 1/8" drill bit. Only regret is that there is no stop to the ladder when deployed to lock it into it's downward position. It is a little wobbly, but if one is not in a hurry, it is quite functional. With the care that I took to position it before starting, once strapped in, the tailgate closes without interference.