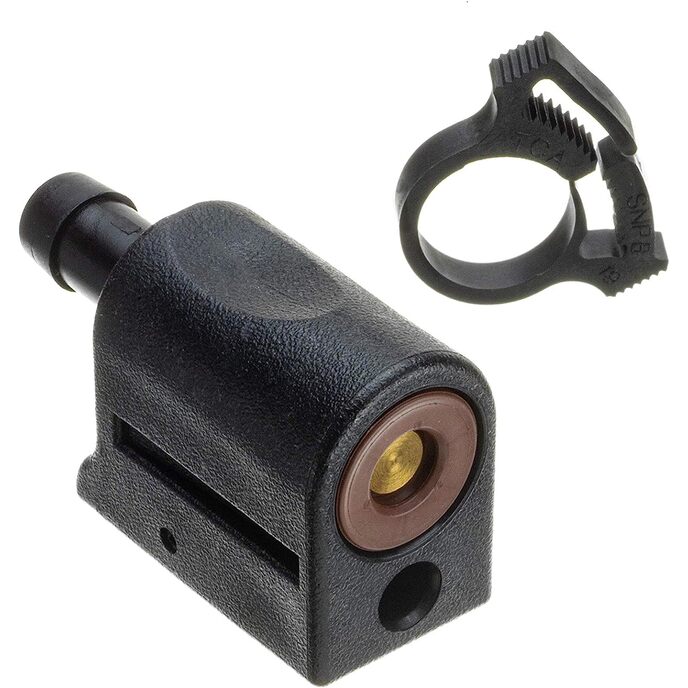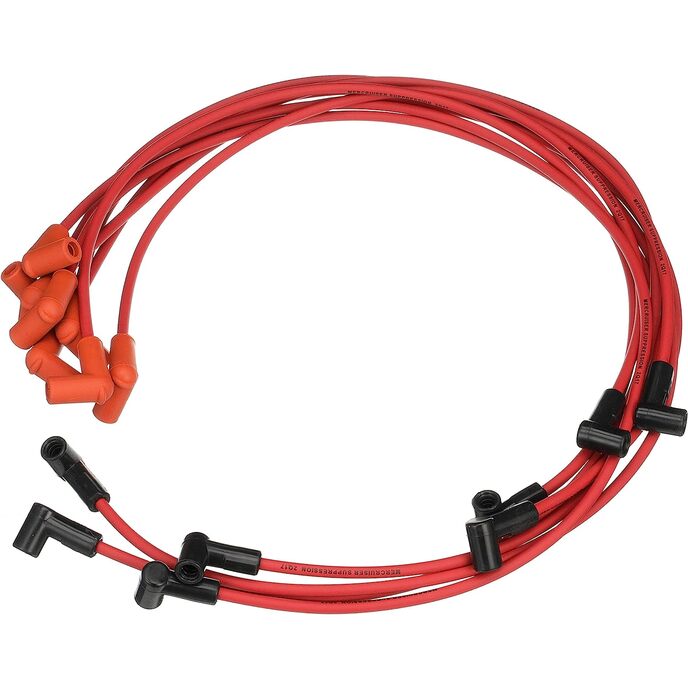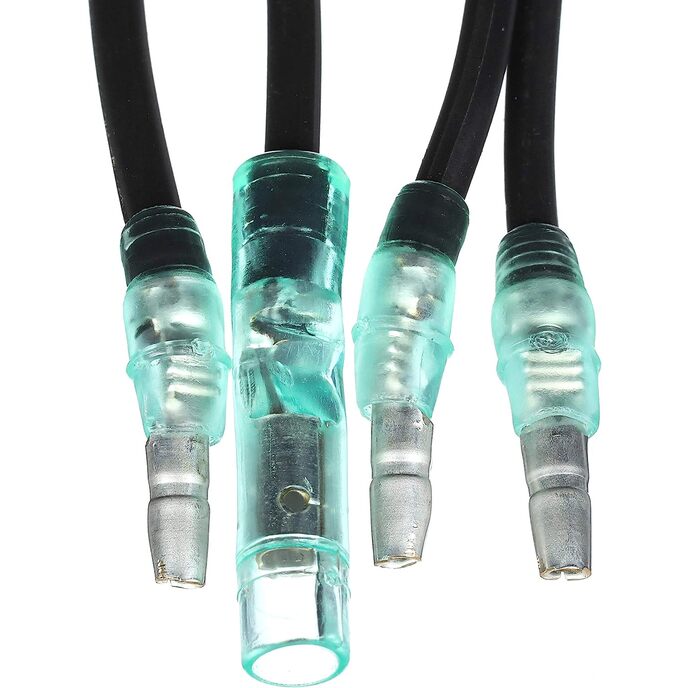
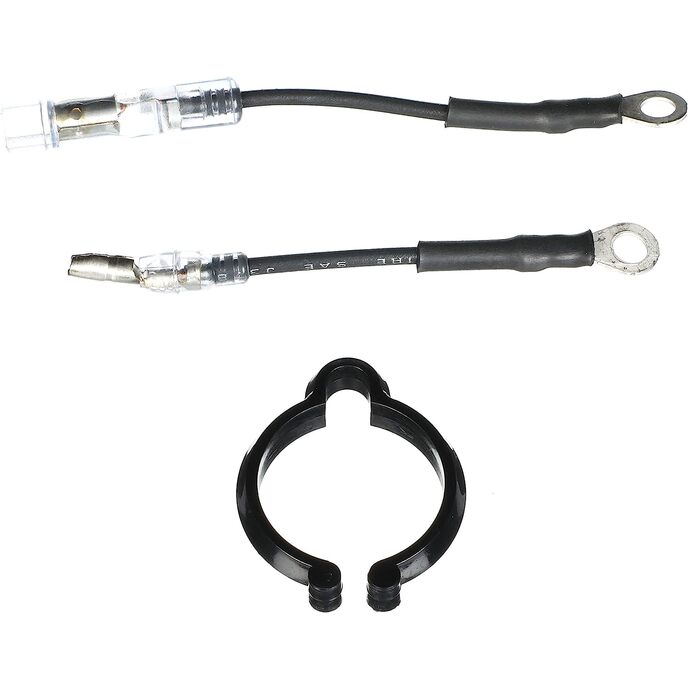
Proizvedeno u skladu sa specifikacijama proizvođača originalne opreme Mercury Marine za maksimiziranje performansi vašeg Mercury i Mariner vanbrodskog ili MerCruiser krmenog pogona. Pogledajte svoj korisnički priručnik ili servisni priručnik za određene primjene i upute za zamjenu. Uvijek koristite instrumente Quicksilver s izvanbrodskim motorima Mercury i Mariner te s krmenim pogonima i unutarnjim motorima MerCruiser. NAPOMENA: Nije za korištenje sa sustavima SmartCraft. Za korištenje s aplikacijama za krmeni pogon MerCruiser. Uključuje granični prekidač trima i žice.
EAN: 0745061656468
Kategorije Sport i otvoreni prostori, Sport i fitness, Vožnja čamcem i jedrenje, Čamci i oprema, Dijelovi brodskog motora,
| Brand Name | Quicksilver |
| Color | Unspecified |
| Country of Origin | China |
| Customer Reviews | 4.7 4.7 out of 5 stars 255 ratings 4.7 out of 5 stars |
| Fishing Technique | Spinning, Casting |
| Included Components | End Product & Information |
| Item Dimensions LxWxH | 7.4 x 4.6 x 4.8 inches |
| Item Package Dimensions L x W x H | 7.36 x 4.72 x 4.69 inches |
| Item Weight | 0.01 Ounces |
| Manufacturer | Quicksilver |
| Material | Various Materials |
| Model Name | Stern Drive Power Trim Sender 805320A03- For MerCruiser MC-I, R, MR, Alpha One, Alpha One Gen II and Bravo Stern Drives |
| Number of Items | 1 |
| Package Weight | 0.43 Kilograms |
| Part Number | 805320A03 |
| Size | Unspecified |
| Suggested Users | Boat Engine Parts and Accessories |
| Warranty Description | 1 year warranty |